
Have you ever scrolled through Instagram and found yourself drooling over a perfectly composed food photo? If so, you’re not alone. Food photography has become an art form in itself, with photographers all around the world capturing deliciousness on camera in stunning ways. Whether you’re a professional photographer or just love taking photos of your meals, this post will provide tips and tricks for creating mouth-watering food photos that will have your followers begging for more. So grab your camera and get ready to learn the art of food photography!
What is Food Photography?
Food photography is the art of capturing food in a way that makes it look appetizing. It can be used for both professional and amateur purposes, and can be shot with a variety of different cameras.
There are many different techniques that can be used to make food look its best on camera, from using natural light to playing with shadows and highlights. Food photographers also need to be aware of composition and styling, as these elements can make or break a photo.
With the right skills and knowledge, anyone can take stunning food photos. So if you’re curious about this type of photography, or just want to up your Instagram game, read on for some tips on how to get started.
Tips for Better Food Photography
1. Use natural light whenever possible. Light from a window or the sun will make your photos look more vibrant and appetizing than artificial light.
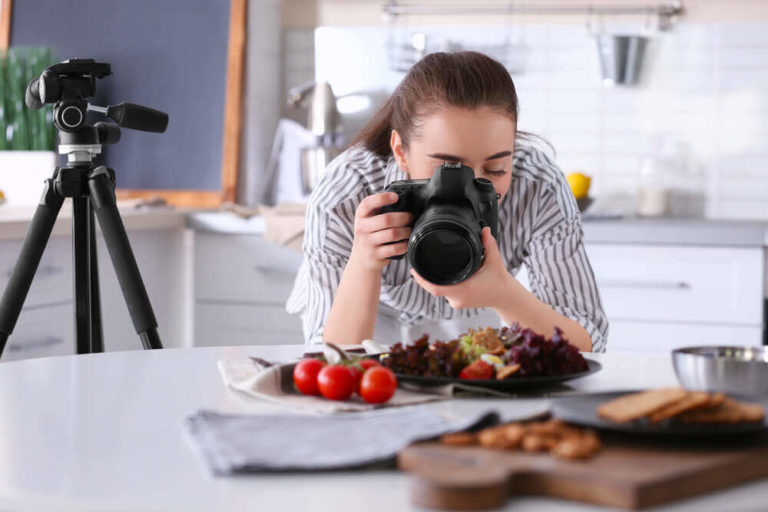
2. Get close to your subject. Fill the frame with your food so that the viewer can see all the details.
3. Use a simple background. A plain white or black backdrop will make the food stand out more than a busy patterned one.
4. Play with angles. Take photos from above, below, or even sideways to add interest to your shots.
5. Edit your photos for maximum impact. Brighten up dark areas, crop out distractions, and adjust the color balance to bring out the best in your photo
Equipment Needed for Food Photography
If you’re interested in food photography, you’ll need to invest in some quality equipment. Here’s a list of must-haves:
1. A good DSLR camera. You don’t need the most expensive camera on the market, but you’ll need something that takes clear, sharp photos.
2. A tripod. This is essential for getting those crisp, well-lit shots.
3. A light box or diffuser. This will help soften the light and reduce shadows in your photos.
4. A reflector. This comes in handy for bouncing light back onto your subject and filling in any dark areas.
5. A few different lenses. A macro lens is great for close-ups, while a wide-angle lens can be helpful for capturing an entire scene.
With this basic equipment, you’ll be well on your way to taking beautiful food photos!
Types of Food Photography
When it comes to food photography, there are all sorts of different types and styles that you can go for. Whether you’re shooting for a cookbook, a restaurant menu, or just for your own personal collection of food photos, here are a few different types of food photography to keep in mind:
1. Macro Photography
This type of food photography is all about capturing close-up details of the food. This can be things like textures, patterns, and small details that you wouldn’t be able to see with the naked eye. This type of photography is usually done with a special macro lens that allows you to get in close without distortion.
2. Action Photography
Action photography is perfect for capturing those moments when the food is being prepared or served. This could be anything from someone pouring a sauce over a dish to someone taking a bite out of a burger. Capturing movement in your photos can add an extra element of interest and excitement.
3. Still Life Photography
Still life photography is all about capturing the food in its simplest form. This could be a beautifully plated dish or even just a simple bowl of fruit. The key here is to focus on the composition and lighting to make the most impactful image possible.
How to Set Up a Professional Shoot
If you want to set up a professional food photography shoot, there are a few things you’ll need to do in order to make sure everything goes smoothly. First, you’ll need to find a good location that has plenty of natural light and a nice backdrop. Once you’ve found the perfect spot, it’s time to start setting up your camera. If you’re using a DSLR, you’ll want to set it up on a tripod and use a low aperture so that everything in the frame is in focus. If you’re shooting with your phone, you can prop it up on something or use a selfie stick to get the best angle.
Once your camera is all set up, it’s time to start styling the food. This is where you can get creative and have fun with it! You can play around with different props and textures to create an interesting scene. Just make sure that everything looks appetizing and neat. When you’re happy with how the food looks, it’s time to start taking some photos! Try out different angles and compositions until you find something that looks great. And don’t forget to focus on the details – often times, it’s the small things that make the biggest difference in food photography.
Editing Techniques for Food Photography
Editing food photography is a critical part of the process to make your images look their best. Here are some essential editing techniques to help you take your food photos to the next level:
1. Crop for Composition: One of the most important aspects of editing food photography is cropping for composition. This means finding the right balance of elements in the frame, and making sure the focus is on the food.
2. Adjust White Balance: Another key edit for food photography is adjusting white balance. This can be done in post-processing by changing the temperature and tint settings. Doing this will help make your colors pop and give your images a more polished look.
3. Enhance Color: Enhancing color is another great way to make your food photos look their best. This can be done by increasing saturation or vibrance in post-processing. Be careful not to go too overboard with this though, as it can make your colors look unnatural.
4. Sharpen for Detail: Sharpening is an important step in any photo editing workflow, but it’s especially important when it comes to food photography. This will help bring out all the details in your image, making it more appetizing to viewers.
5. Add Contrast: Adding contrast can really make your food photos pop and give them more visual interest. This can be done by increasing shadows and highlights in post-processing, or by adding a vignette around the edges of the frame